Techniques
Use this page to help you get started with some face painting techniques.
At the beginning, using these techniques may seem difficult . Use only the techniques you need; it is not necessary to use all of them. Once you have practiced these techniques your imagination can help create more vivid designs. You can combine these techniques to make the best designs imaginable.
Using a Sponge
Sponges can be used in several different ways. One of the most common ways a sponge is used is for covering the entire face with paint. The edge of a sponge can be used to make sharp and crisp edges and the corner of a sponge can be used to create small details or designs.
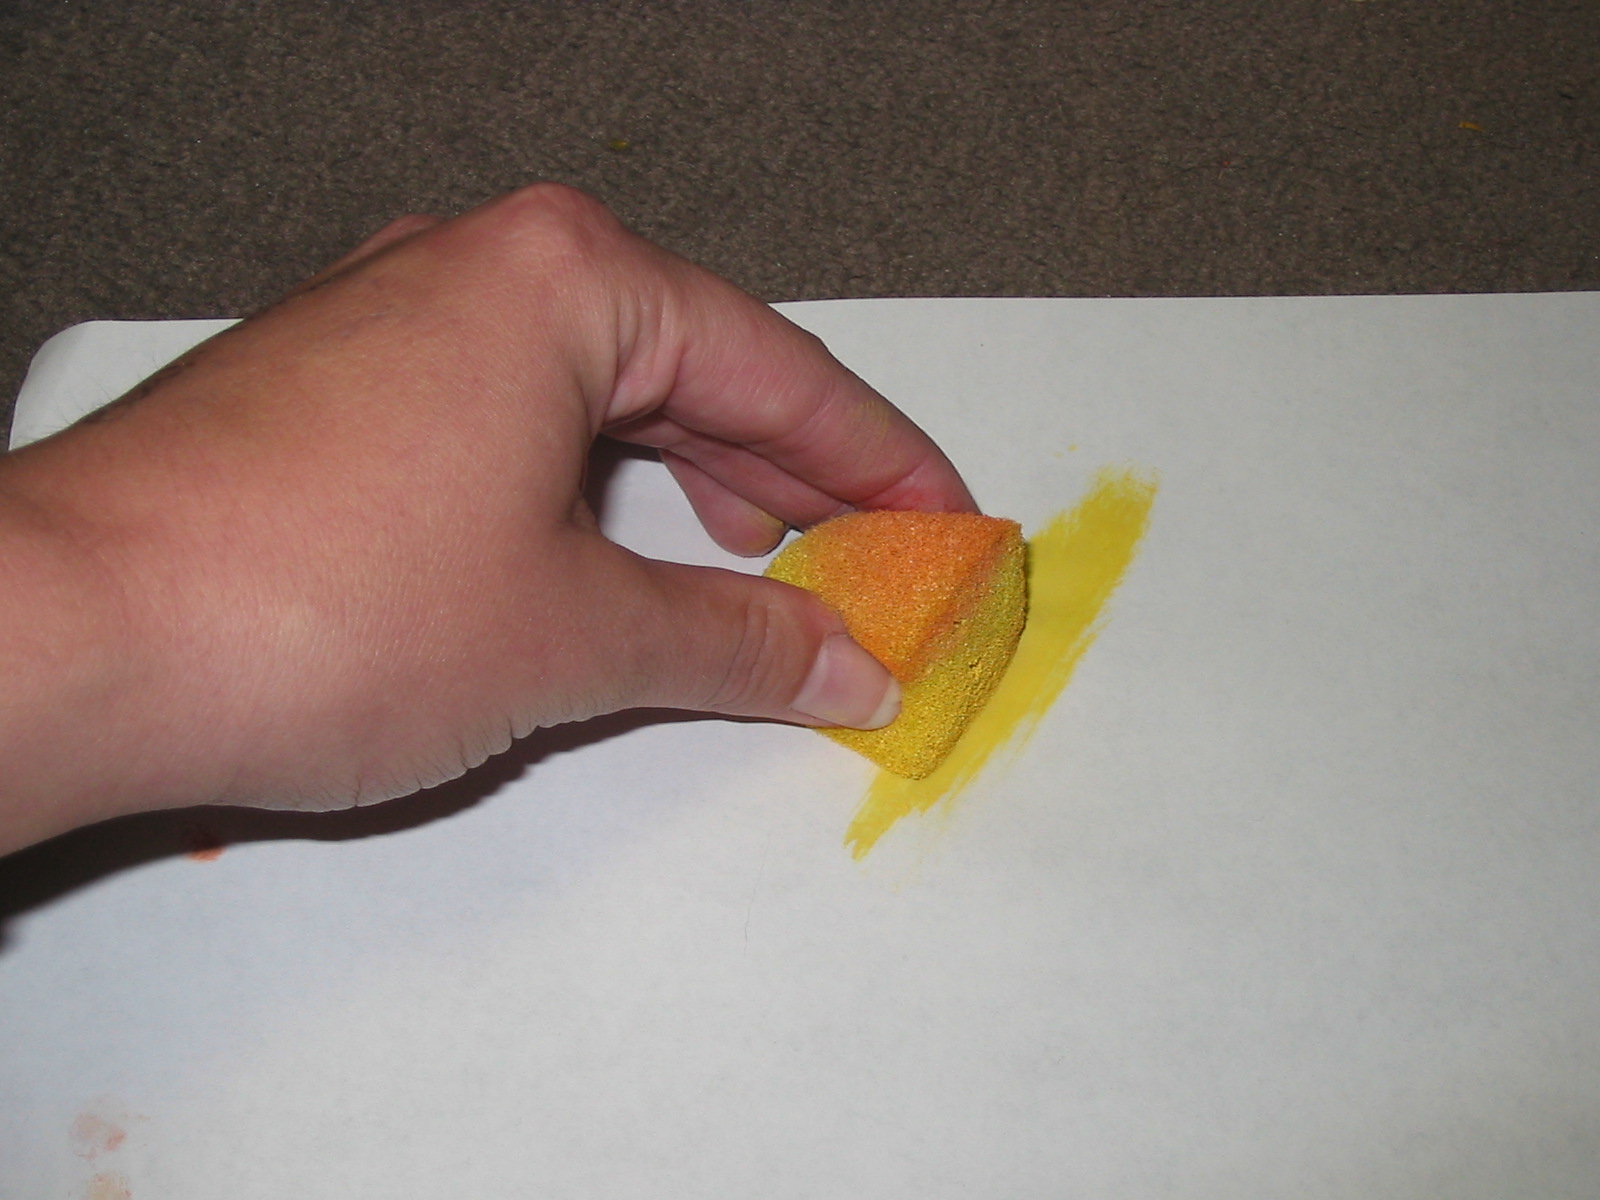
Covering a large area or the entire face with a sponge:
● Begin by placing the sponge in water. Remove the sponge, and then squeeze most of the water out. You should have a moist sponge. The sponge should not be too wet or too dry.
● After moistening your sponge, select the desired color of paint and dip it into the paint. Once you have the desired color of paint on the sponge apply it evenly throughout the area you want to paint.
Using the edge and corner of a sponge:
● Hold the sponge at a higher angle.
● This process can be used to create whiskers or a soft “feathery look” when it is done repeatedly to an area.
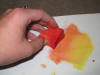
Blending
Blending is used to create a smooth looking design. It also helps to make a design look more realistic in some cases. Keep in mind that this must be done quickly, since paint dries fast.
● Begin by adding a second color to the one that is already applied. Do this by overlapping the second color to the first color wherever you want to blend the colors.
● With a sponge or paintbrush press against the paint and pull across where the colors meet. The colors will begin to fade into each other. Do this according to what best suits the design and the way you want it.
Using a Paintbrush
Paintbrushes can be used to create many designs and create detail. To be a great face painter, learning paintbrush techniques, especially line control, is essential. Some details and designs created with paintbrushes are dots and tear drops among others.
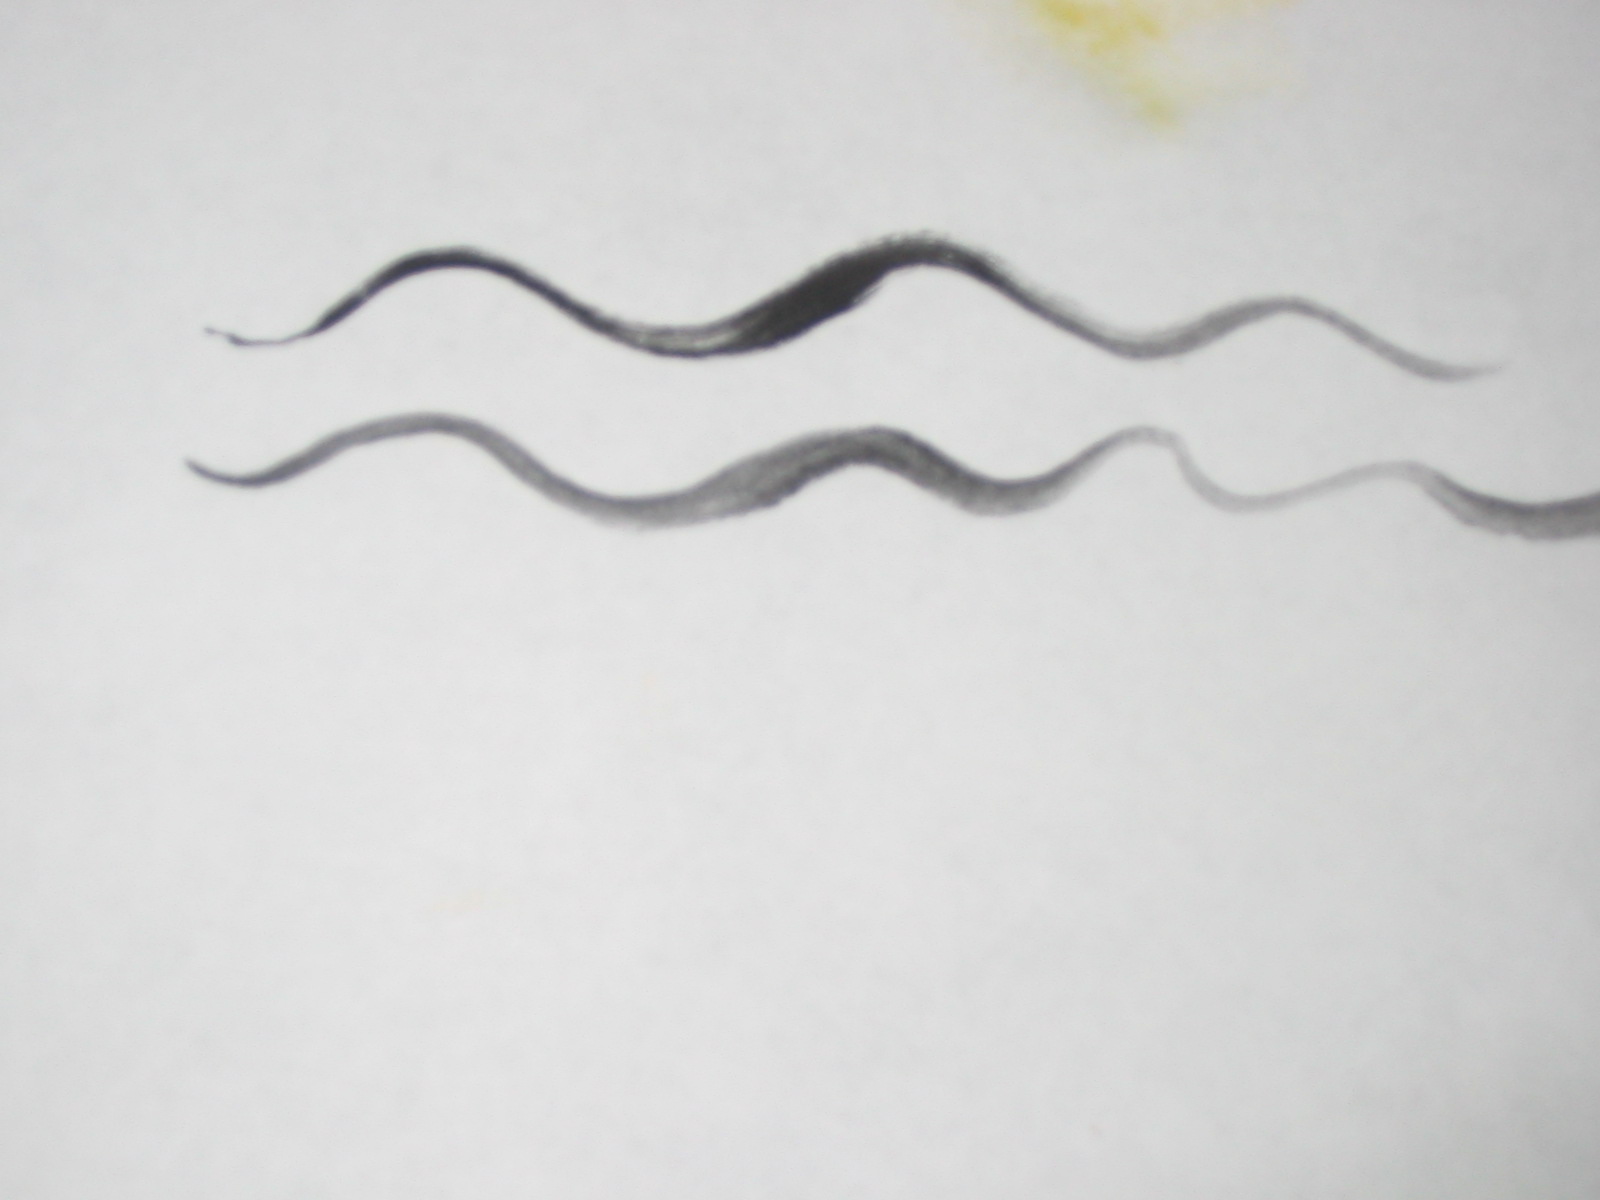
Line control:
● Start the line by very lightly touching the skin with the tip of the paint brush.
● While increasing the amount of pressure, continue drawing the line.
● When nearing the end of the line, slowly begin to decrease the pressure until the brush is no longer touching the skin.
● Practicing and becoming quicker at drawing lines will help lines look sharper, professional and clean.
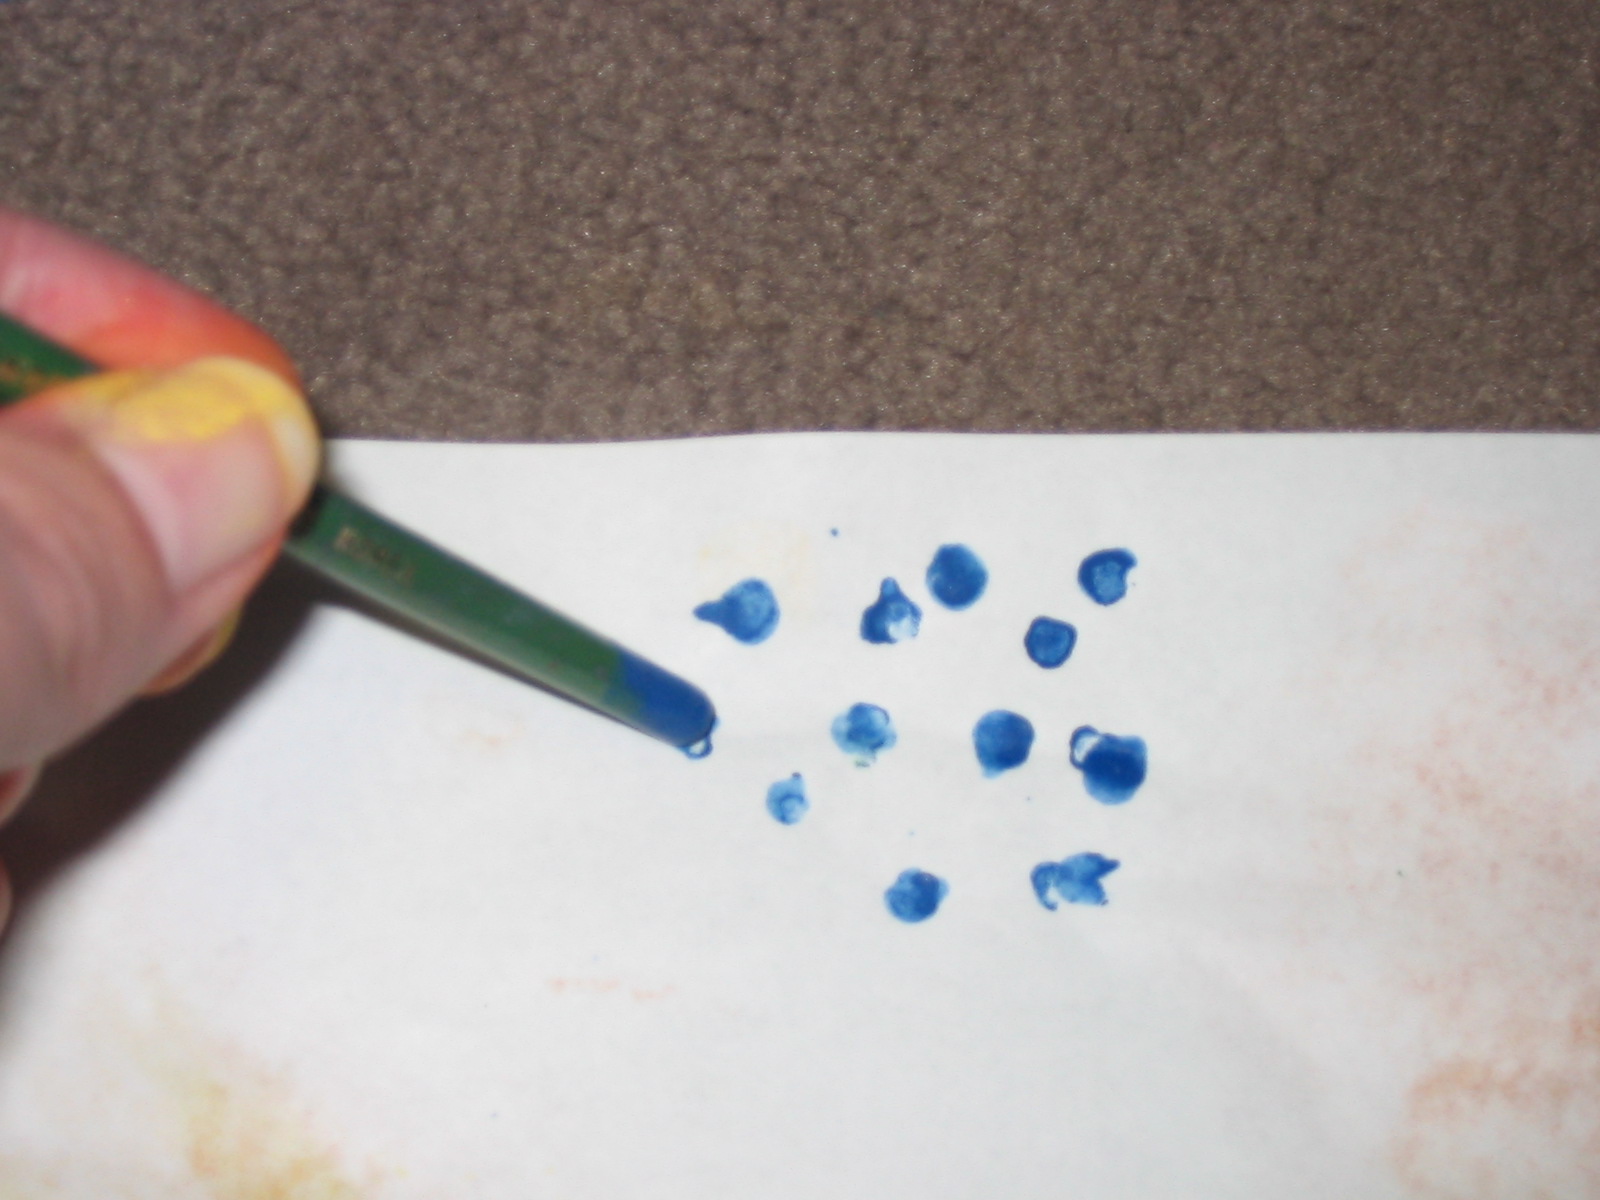
Dots:
● Begin by putting a small amount of paint on the end of the brush handle.
● Apply the dots anywhere you want with the round end of the brush as your template.
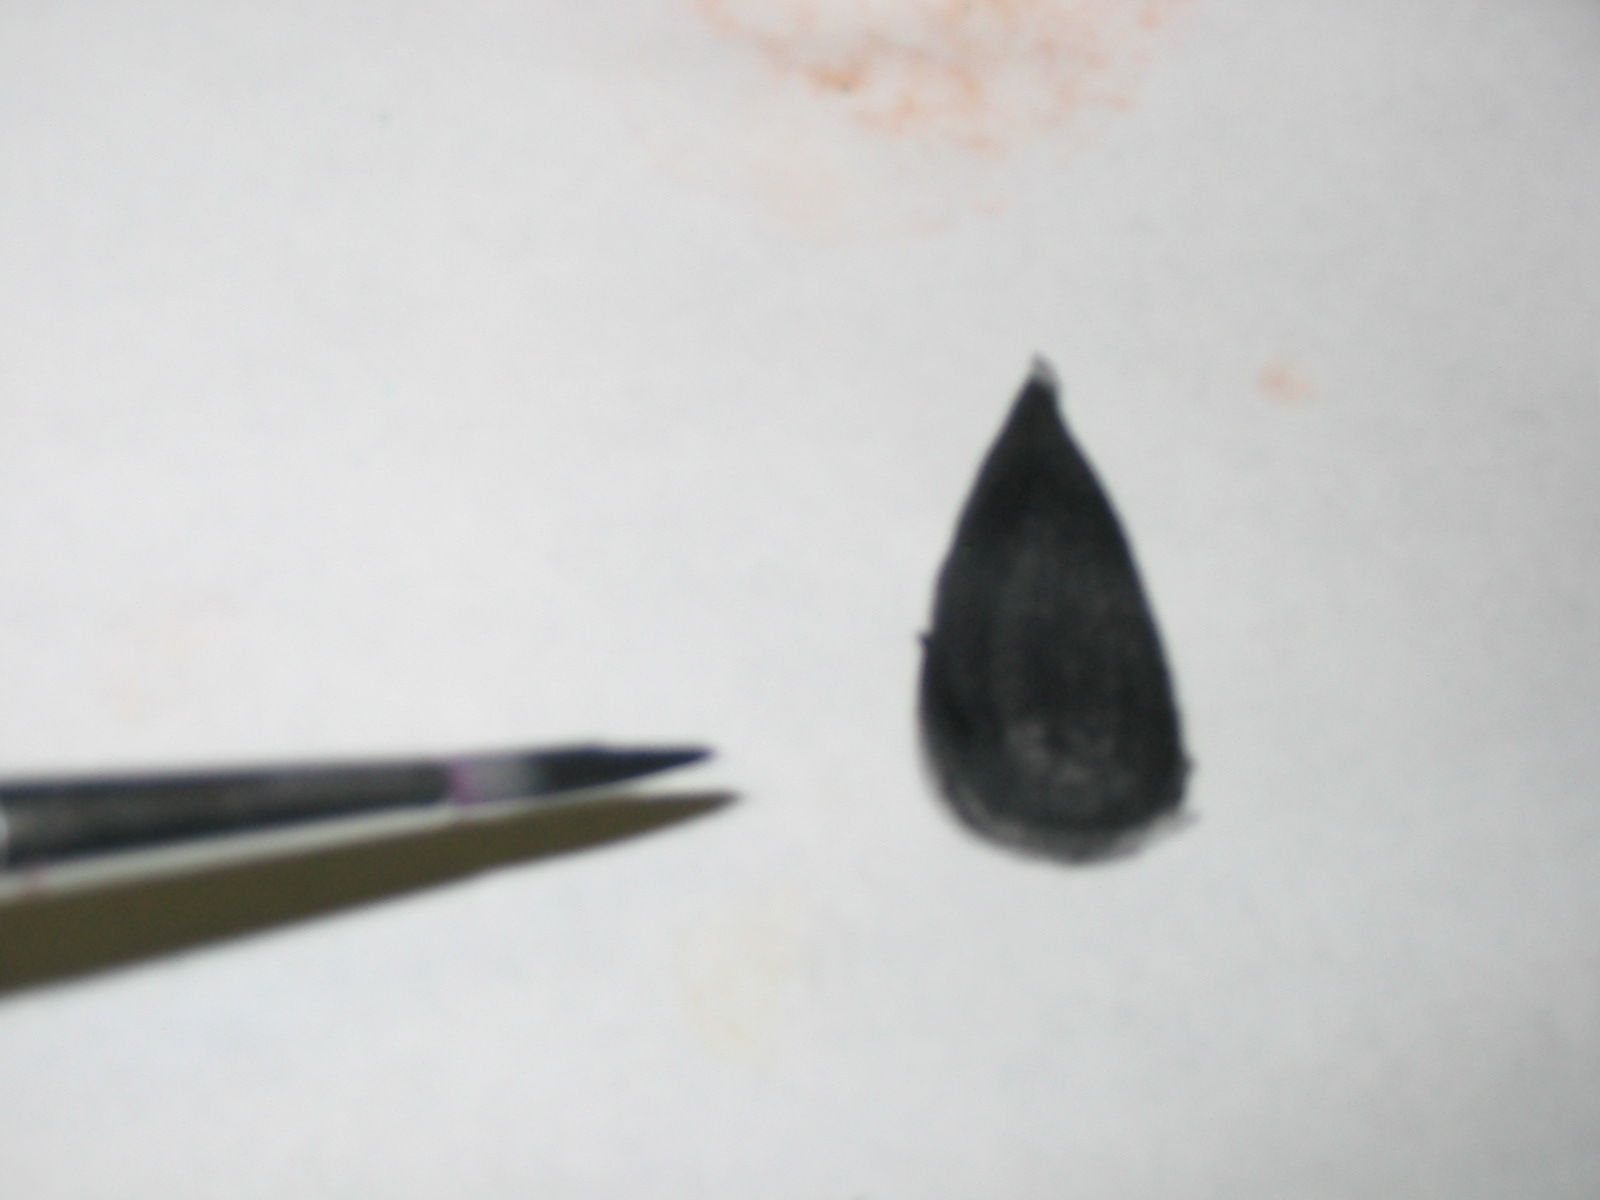
Tear Drops:
● Begin by dipping a paint brush into paint, and then outline the shape of a tear drop on the skin.
● Once you have the outline of the tear drops, fill in the outline with more paint.